
A little JT anyone?, The original JT, James Taylor, that is.
This past weekend my mom and aunts hosted a baby shower for my cousin. We decided to hold the baby shower after the baby was born because my cousin lives out of state. This allowed her to make one less trip and for us to all meet Miss Peyton. Win-win.

I volunteered to help with games. We invited around fifteen family members ranging in age from 20s up to 80s. In my experience with showers (baby and bridal), sometimes games can be tedious and monotonous for guests. We decided to go more of the "activity" route rather than games.
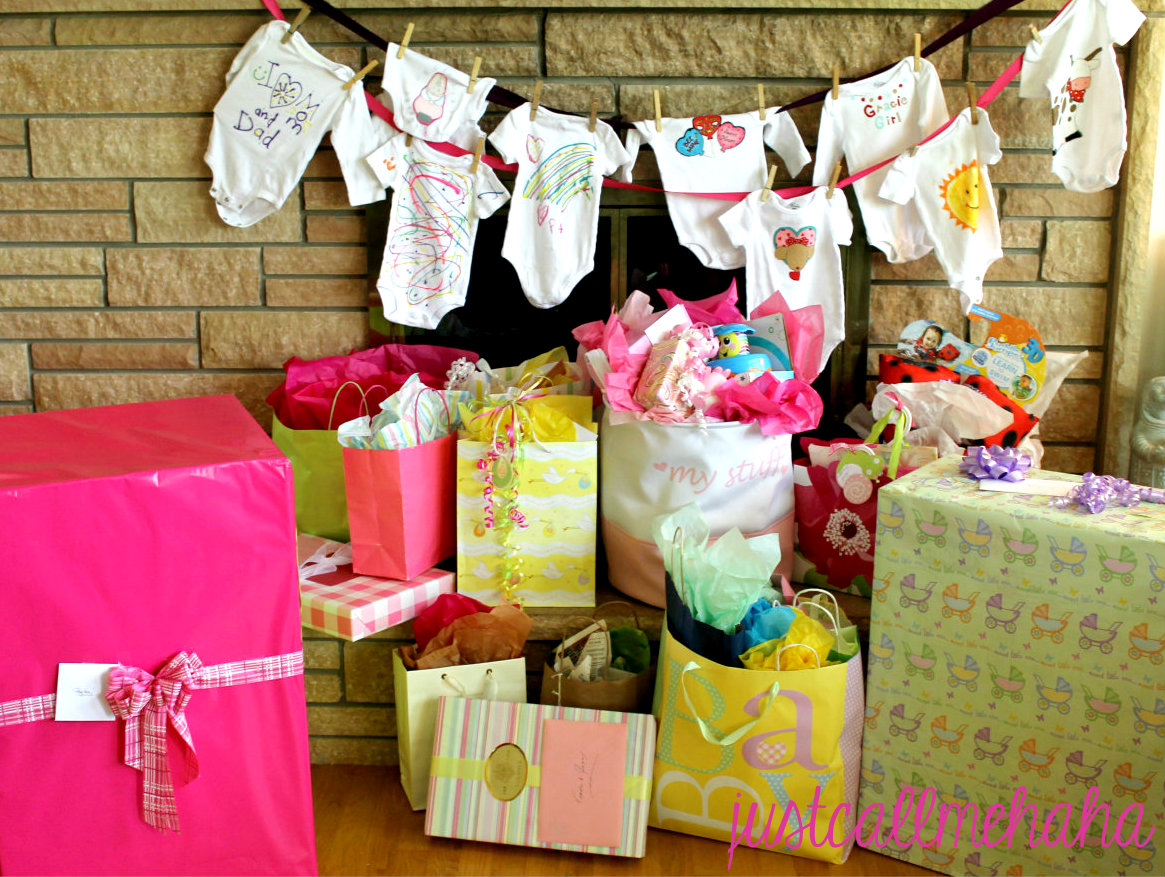
Upon arrival, guests were greeted with a ribbon clothesline of onsies and baskets of diapers.


After some time spent mingling, we began our first activity: onsie decorating. When we had asked my cousin if she had a registry or what items she still needed, her request was 9 months+ clothing. We bought a few packages of short sleeved and long-sleeved onsies and prewashed, then hung on our clothesline to add to the decor.
Growing up, my mom was quite the sewer. She used to make us outfits, blankets, curtains, etc. Over the years she accumulated a number of items which turned out to be perfect for the shower. We had baskets and bins of supplies and guests eagerly started deciding how they wanted to decorate their onsie.


Onsie Decorating Supplies
- Pre-washed onsies
- Fabric cut-outs (super old school, made by Daisy Kingdom)
- Fabric scraps
- Ribbon
- Iron/iron board
- Fabric scissors
You could also use items like buttons, rhinestones, bows, etc. We elected not to use this items for fear that at some point Peyton may rip them off and of the potential choking hazard. All of the items above, except onsies, can be found at your local fabric store.
For fabric crayons, be sure to "set" the design by following the directions and applying heat.
If you're not familiar with fabric adhesives; they're used to bind fabrics together. Basically you cut the piece of fabric you want to adhere, place it on top of the adhesive sheet and iron. There's two layers to the sheet. After the first (the rough) side is adhered to the fabric piece, you can cut along the edges of your design to perfect it. Once done, remove the paper covering on the other side, place on your main fabric item, and iron in place!
Remember: Your iron must be completely dry (no steam) or the wunder-under will not stick!
This process might sound a bit tedious, but it's very easy. Here are the results:

In our experience, it works well to "line" the fabric applique with puffy paint to ensure that none of the fabric edges fray in the wash. Here's my masterpiece (which I planned to match a pair of pink, orange, and light pink polka leggings as part of my gift).

Our guests got pretty creative and everyone enjoyed figuring out what to put on their onsie.

We ended up with a number of masterpieces. The only downfall was that there was a little bit of smearing with puffy paint. Those onsies we let dry and will ship to my cousin.


Of course, what fun is a baby shower with out the cute gifts?

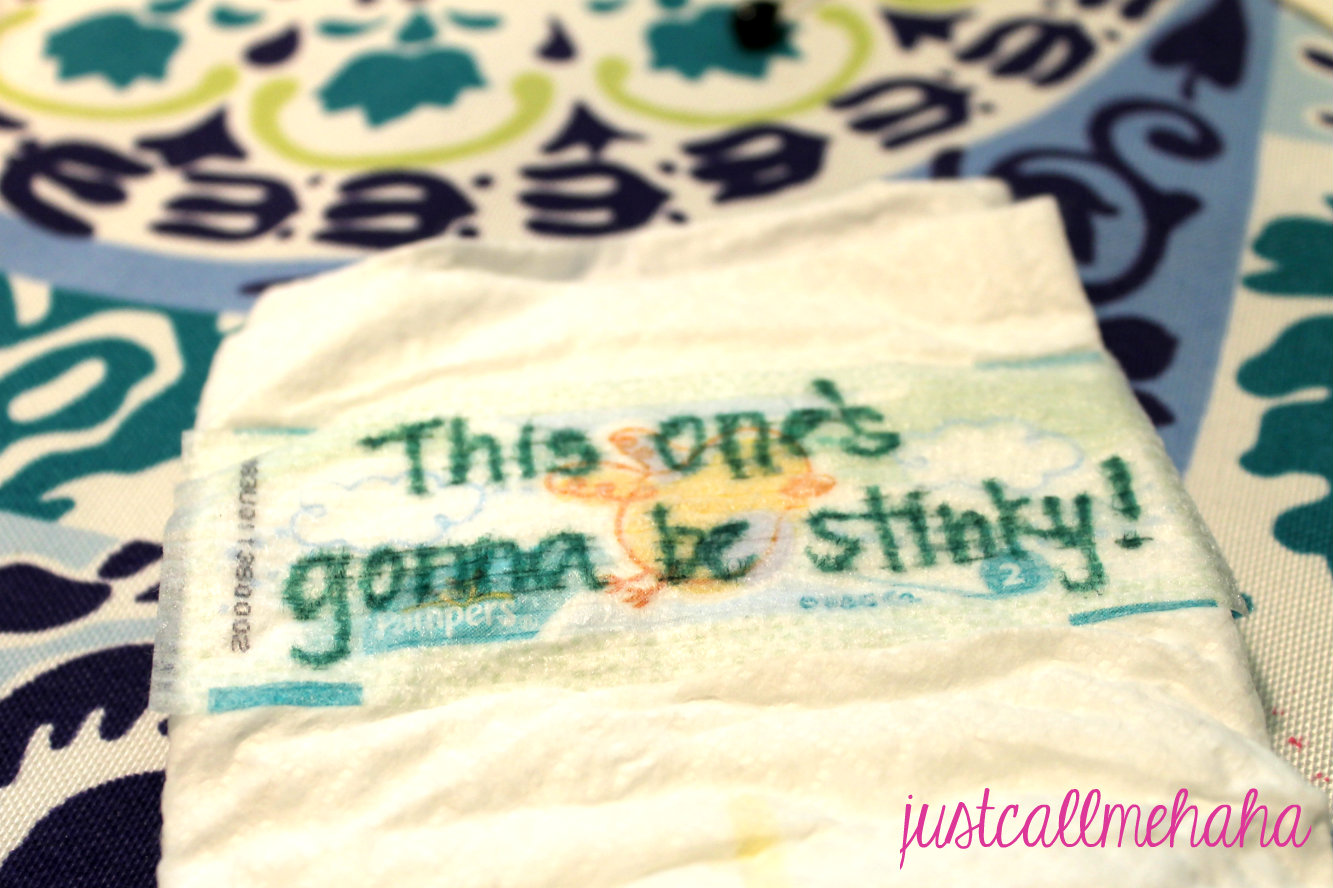
For our second activity, my sister-in-law had suggested The Late Night Diaper Change. Having a three month old of her own, I'm sure she spoke from experience of dreaded over night diaper changes.
What it is: The only supplies you need are: diapers (we used size 2 for Peyton to grow into), permanent markers and a creative mind.
We asked all of our guests to take a few diapers and write a note on the front of them; something to keep my cousin/her husband entertained when they're up in the middle of the night changing diapers. Not only was this activity fun, but the diapers will prove useful for the new parents.
Here are a few examples of what we got, although my favorite was when my Aunt Jayne (from Aunt Jayne's mix) wrote down "Take a picture and send it to Aunt Mindy".


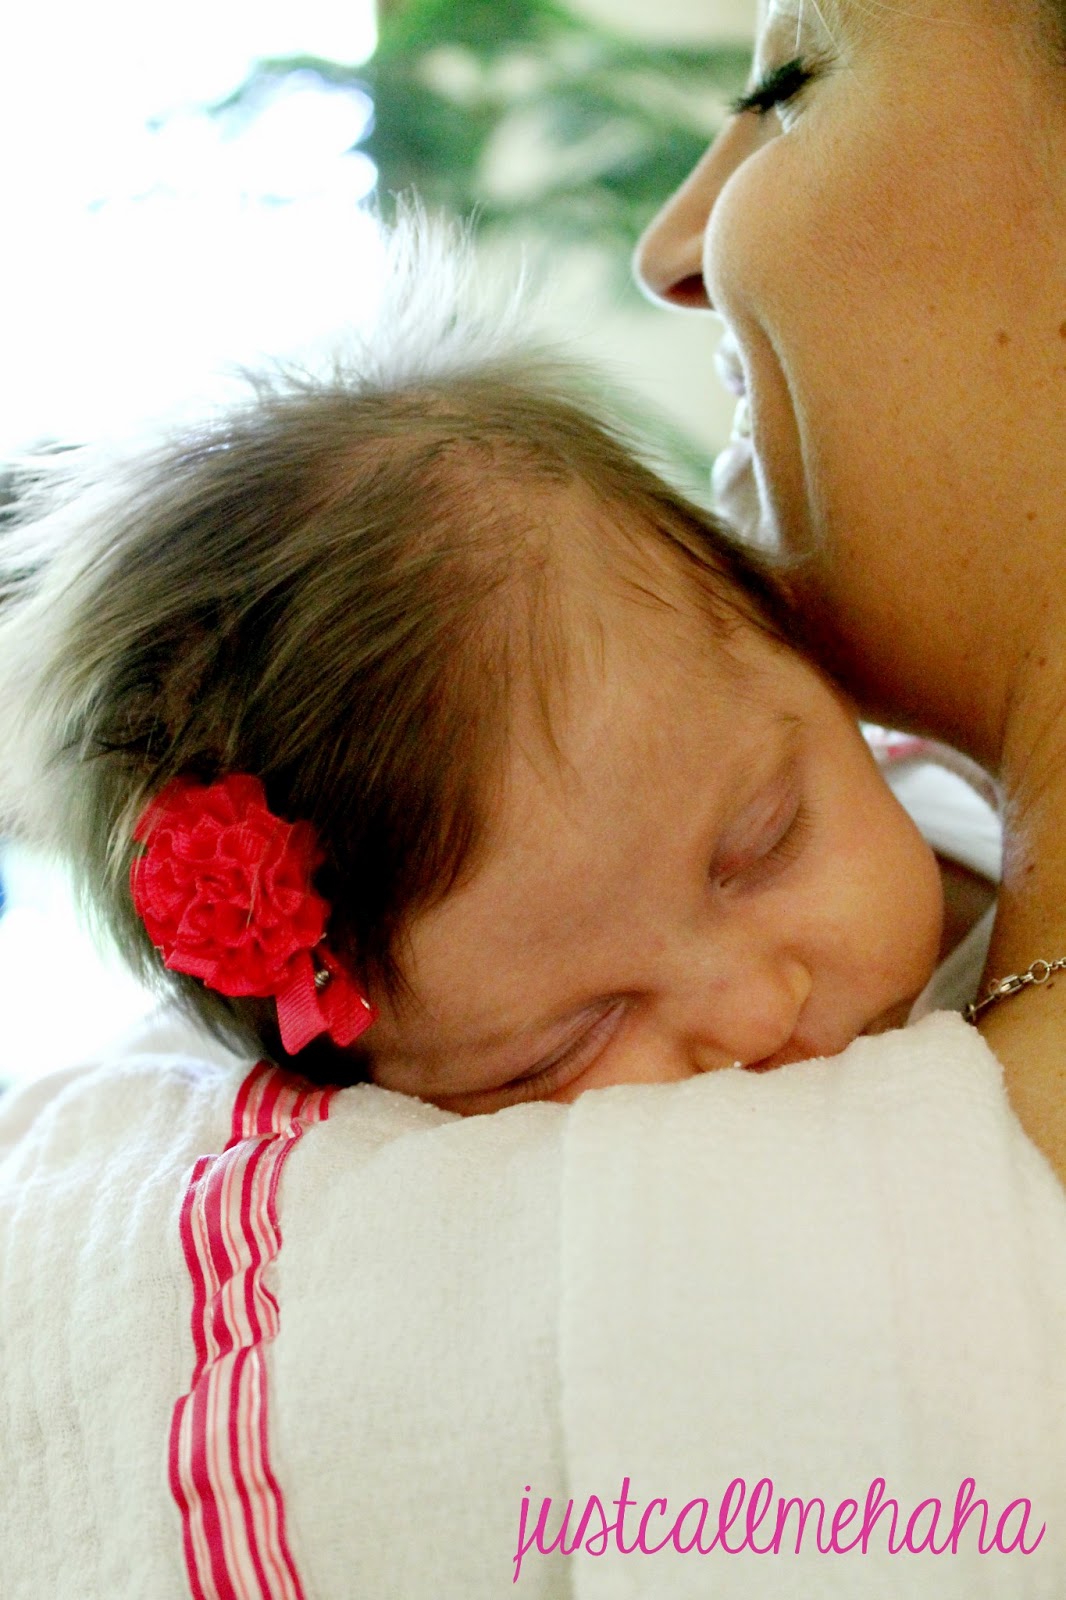
All in all, the shower was extremely fun and well received. It was great to spend time with family we so rarely see, and, of course, it was wonderful to meet this sweet little 7-week old baby.


No comments:
Post a Comment