
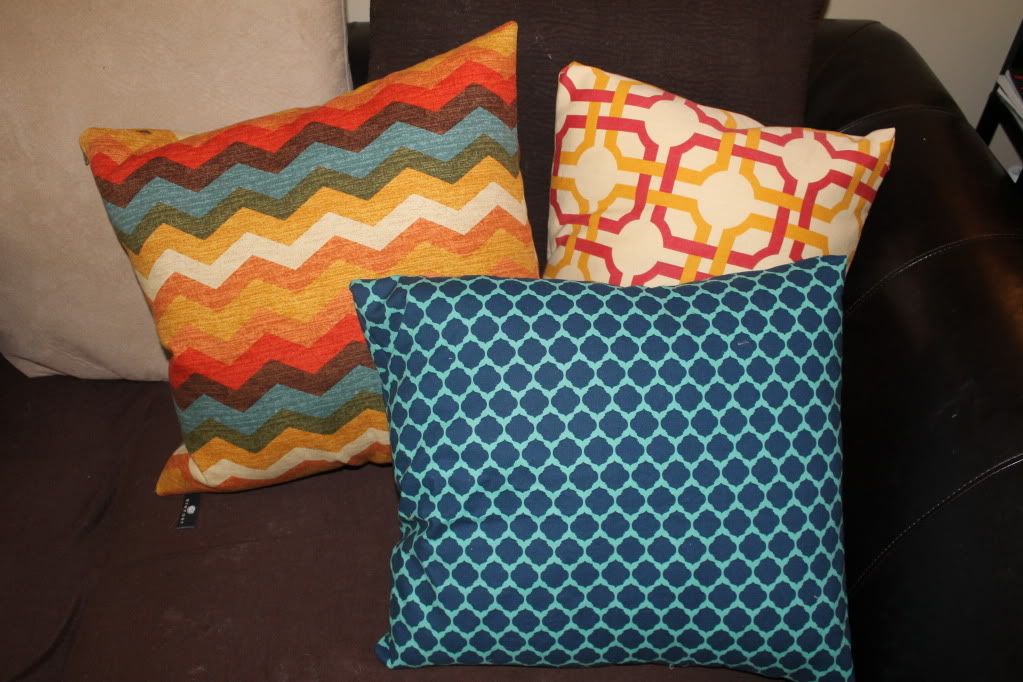
One of the easiest ways to dress up a room is with little accents. For
me and my living room, this means pillows. I bought new chevron
pillows from TJ Maxx when I put up the frame wall,
but I've recently decided to add some more. Our couch is a microsuede
with alternating ivory and brown pillows. It also came with two small
brown suede pillows. I decided to recover these so that all of our
accent pillows stand out against the main pillows.

During the past five years, I have easily made/recovered close to 30 pillows. I used to cut a piece of fabric, hold it in half, sew two of the edges and then after putting the pillow/stuffing in, sew the last edge by hand. This is time consuming and also my "hidden" stitch is not so hidden.
My mom showed me a new method for making pillow covers that is SO easy, it's a wonder I haven't made more covers than I have!
This method is to cover existing pillows.
Another "secret" my mom shared with me is that rather than buying pillow stuffing and plumping up a pillow yourself, you can buy pillow forms or even buy used pillows from Goodwill (and wash on hot!) and recover them. (Although I'm sure some of you are cringing reading this, so know that you can find pillow forms just about anywhere. Even Crate and Barrel sells their pillow forms and pillow covers separately if you ask. FYI: I learned this when Oscar destroyed a brand new $40 C&B pillow that had been wedding gift and saved some money when replacing it by buying just the cover).
Simple Seams Pillow
Measure your existing pillow shape and cut fabric to be about 4" wider (2 inches on each side).

Place your pillow on top before cutting to ensure that the fabric is wide enough.

Fold the ends of your fabric twice with about 1" fold each. Sew each end's "folds" in place to ensure there are no exposed raw edges.
After sewing the ends, place your pillow in the center of your fabric and fold up one end to the middle of your pillow.

Fold the other end over the top of the first end (below I show the left end overlapping the right end). Ideally you want this overlap to be at least 4".

Pin one side and remove pillow. Pin other side and sew along both "open" edges. In the picture below, you would sew the left and right edges.

That's it! All you've done is sewn four straight lines (two for the folded ends of the fabric and two for the sides of the pillow) and now you have a pillow cover!
To put on, place on top of your pillow (as shown below, leave it inside out).
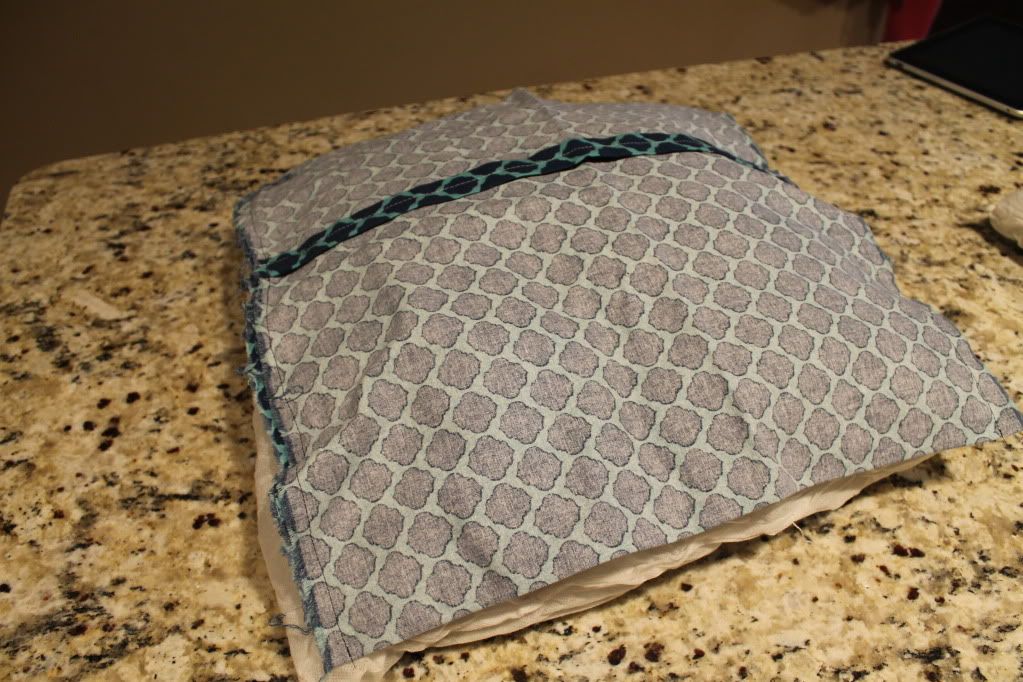
From the picture above, turn the top portion of the cover right-side out so that it wraps around the pillow.
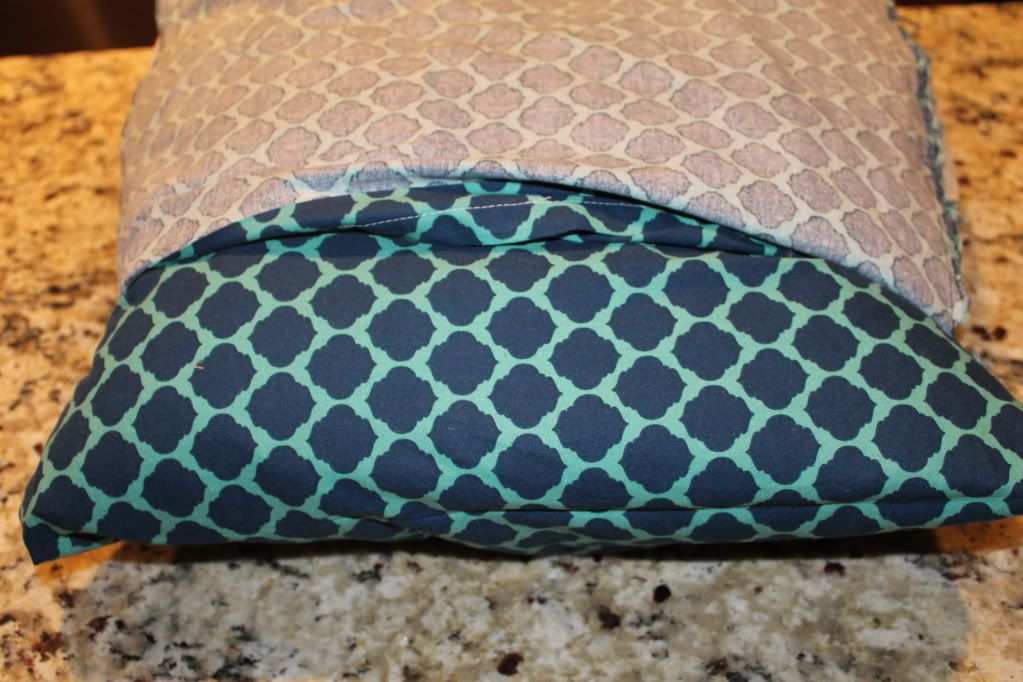
Now, from the picture shown above, turn the other half of the pillow cover right-side out. Adjust as needed (and poke out the corners of the pillow with your finger) Viola! Your pillow is covered!

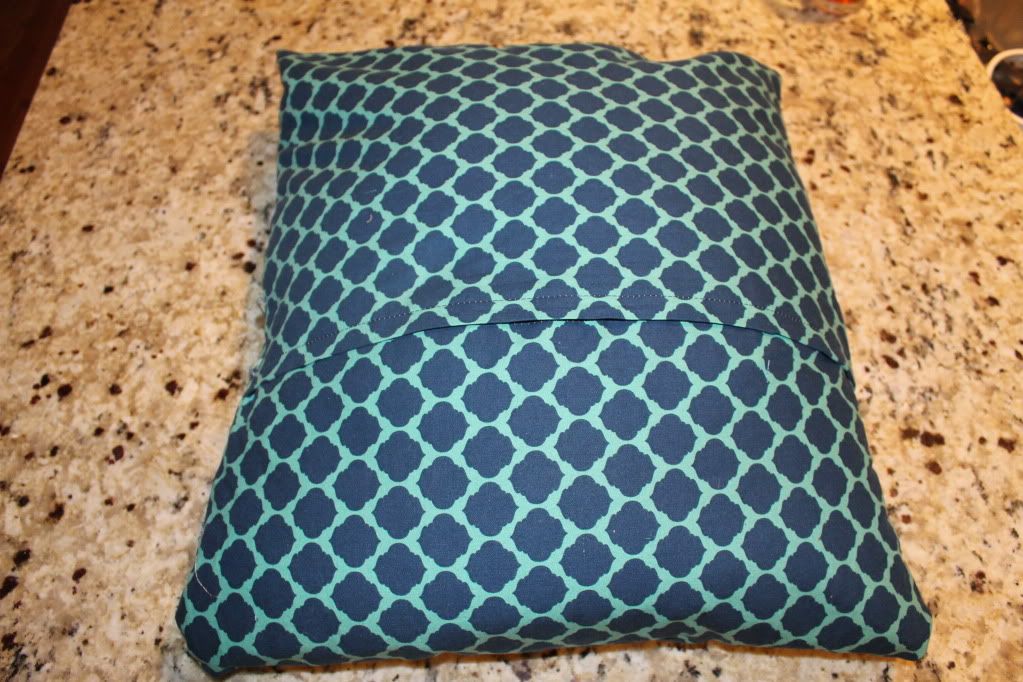
Here's the back view once adjusted; although I wish I would have given this a bit more of an overlap.
Here's the front. Easy peasy!
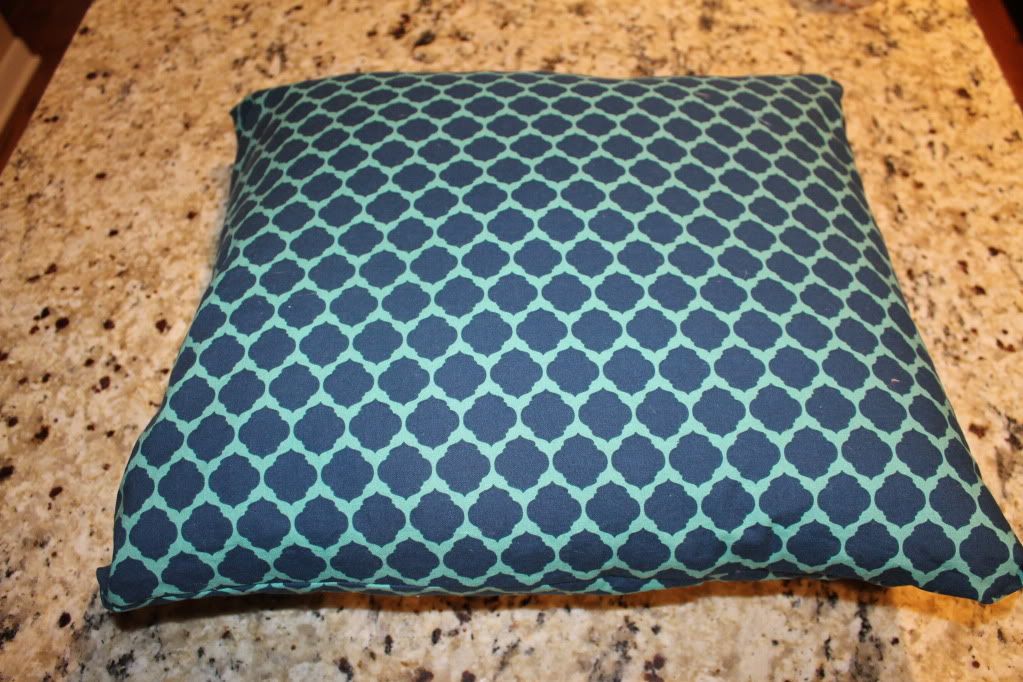
I purchased both of these fabrics from Jo Ann in the home decor fabric section. I think the fabric was originally $40/yard but it was on sale for $20/yard and I had a coupon for an additional discount.
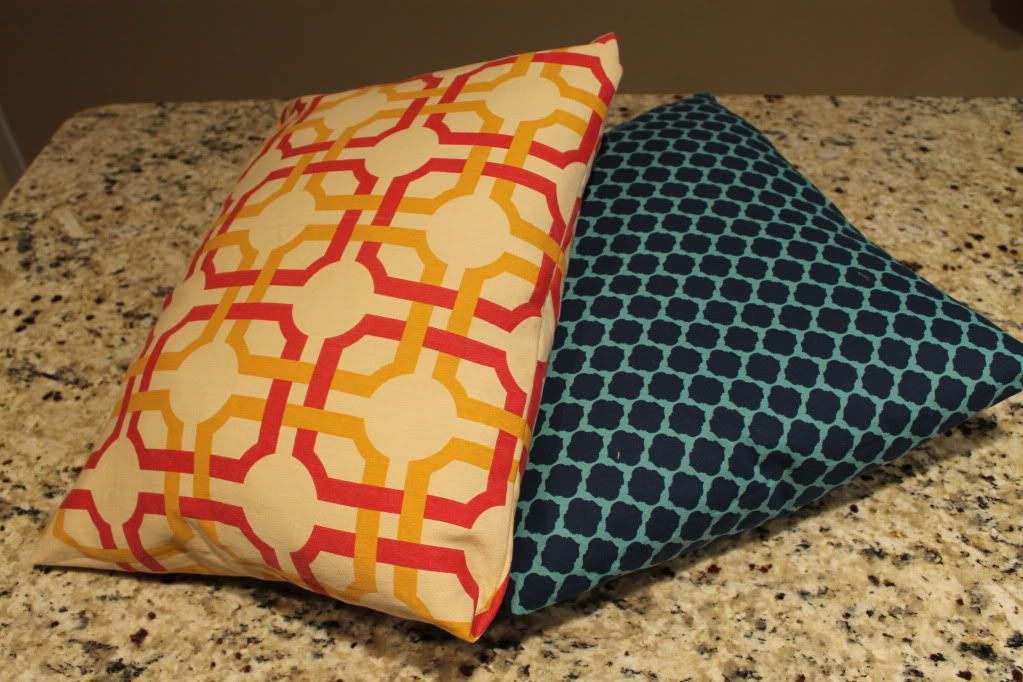
The cost of these pillows came to about $4 each. Compared to the $17 I paid for one chevron pillow (and that was from a "discount" store), it's quite a savings!

I have been looking @ this project on Pinterest for months, but this is an awesome tutorial, maybe I can get my butt around to finally doing this :) Congrats on the new job for you Hubby!
ReplyDelete